Creating Custom Email Messages
This article explains the process for composing emails, sending options, creating templates, modifying templates, modifying system emails, and utilizing email analytics and reporting.
Composing Emails
Send emails to one or a selected group of students or recruiters.
This is available in Candidate/Students, Recruiters, Events, Jobs, Workshops, Advising and other modules.
From the Selected tab, click on Next Actions > Email.
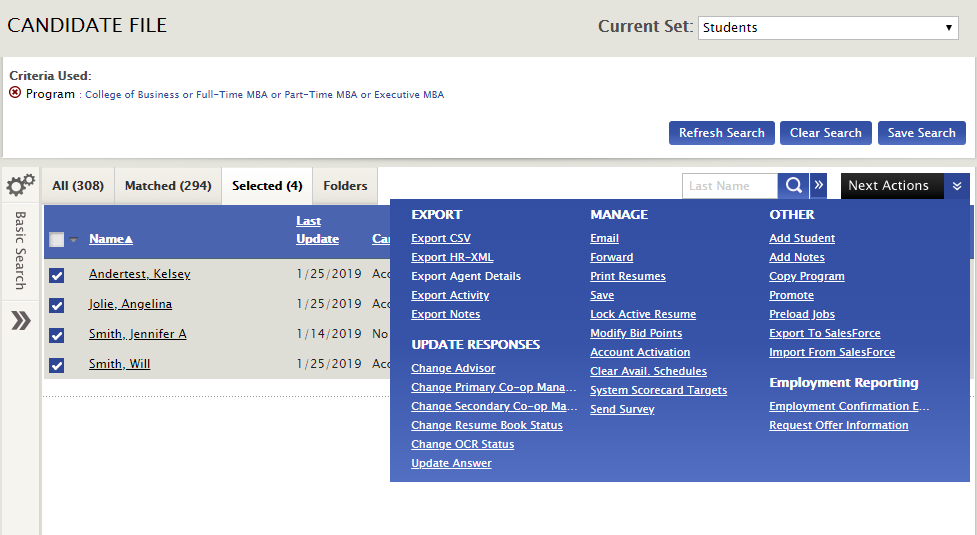
This takes you to the SEND EMAILS screen.
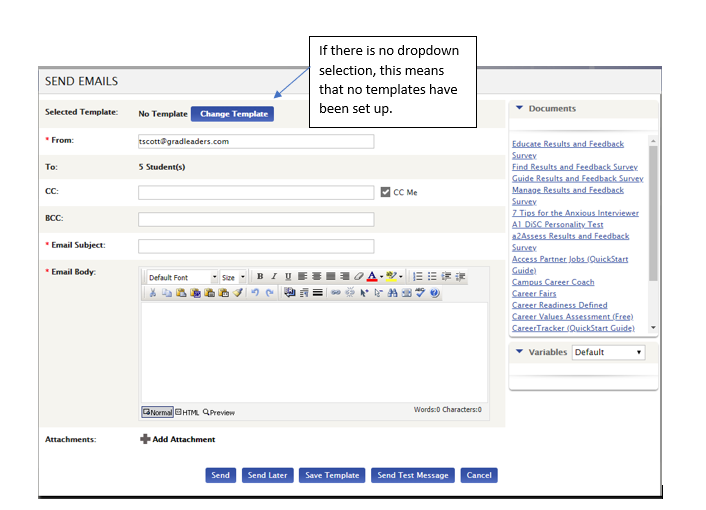
Enter the proper email addresses.
The From: address can be modified but will use the default. The To: addresses were designated by the selected students and cannot be changed. A CC: and BCC: email address can be added here also. To copy yourself (the user), click on CC Me.
Enter an Email Subject and text in the Email Body.
Documents from the Document/Resource Library will appear at the top right. To add a link to that document in the body of the email, place the cursor where you would like to add it and then click on the Document from the list. NOTE: For Documents to appear in this list, they must be visible to Admins.
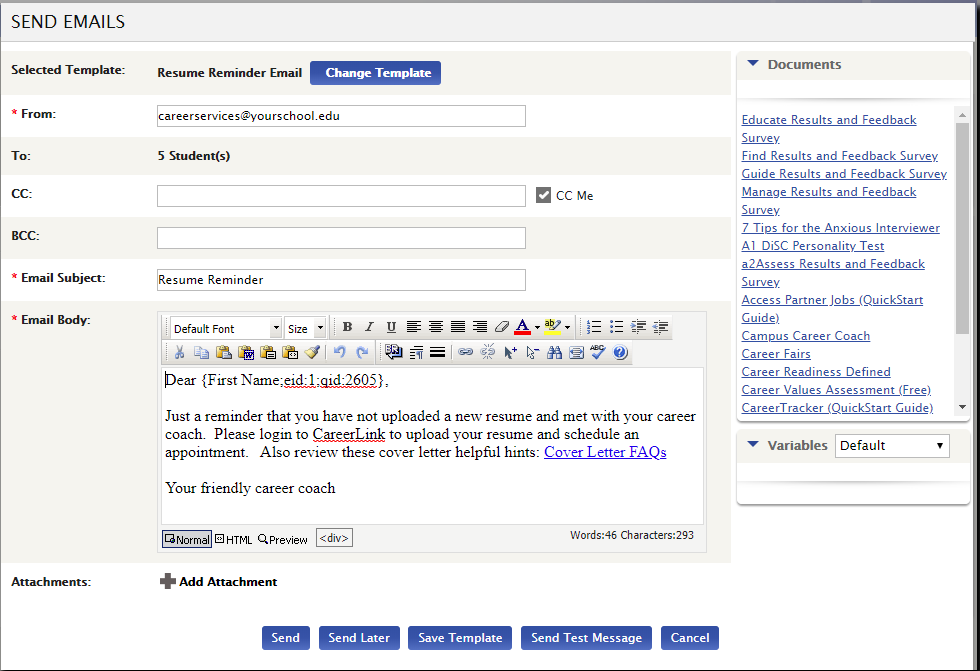
Variables (or fields of information stored in your system) can be selected onto your email by choosing the correct entity in the dropdown (ex. Student) and then locating the field you would like to use (ex. First Name). To add it to the email body, move the cursor to the correct location within the message text and click on the variable in the Variables box.
Options for html messaging are available including the use of hyperlinks by clicking on the HTML icon in the message body.
Attachments can be selected from a local drive or network by selecting Add Attachments and Choose File.
Sending Options
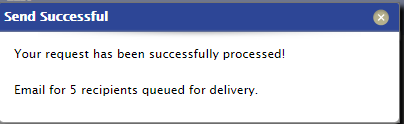
Send – sends this email message to selected students Warning: Although there may be a slight delay, do not click on the Send button more than once during processing. This will send the email(s) again. A processing message will appear at the bottom of the screen to indicate that the messages are being sent.
At completion, the following message will appear:
Sent Later – schedule a time in the future to send the email
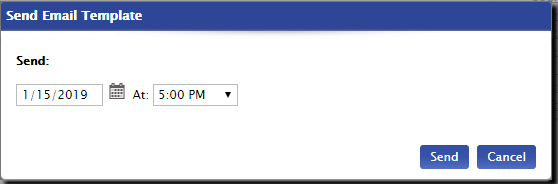
NOTE: To see a list of scheduled email messages that have not yet sent, go to Other Activities > Mass Emails > Current tab.
Creating Templates
Save Email – creates a template to be used for future email messages.
- Name the email template
- Select Access – Public – available and editable for all admin users
- Protected – other admins can access but not change
- Private – available only to the user who created the template

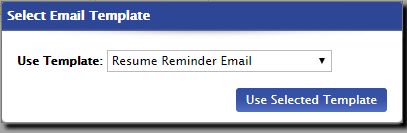
When Templates are created, user can click on Change Template to select.

This pulls up box with dropdown to choose from.
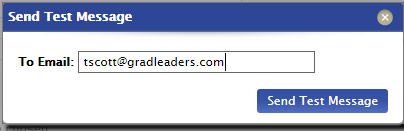
Send Test Message – sends a test to a designated email.
Modifying, Copying or Deleting Email Templates
In addition to modifying templates in the Send Email screen in each entity, they can also be modified by clicking on Configuration > Messages > Saved Emails. This gives a list of all templates that have been created.

A template can be modified by clicking on email name hyperlink. A template can also be copied by clicking on ![]() . The email message can be updated and saved under a new name or it can be changed. A test message can also be sent.
. The email message can be updated and saved under a new name or it can be changed. A test message can also be sent.
The template can also be deleted by clicking on ![]() in the Saved Email grid.
in the Saved Email grid.
Modifying System Emails
Emails generated by the GradLeaders system can now be modified. This includes all message types:
- Pop-up emails “pop-up” when a certain action is completed (ex: if you approve an additional document for a student, a pop up will appear asking if you'd like to send them an email notification.
- Automatic emails will automatically send an email (no prompted included) when you complete a particular action (ex: If you add a candidate to an appointment, an automatic email will go out).
- Agent emails are used to notify students when there are jobs that meet their criteria available; By default these are scheduled to go out at a particular cadence (each day or week).
To modify, go to Configuration > System Emails. Select Student, Employer or Admin tab based on who the email is intended for.
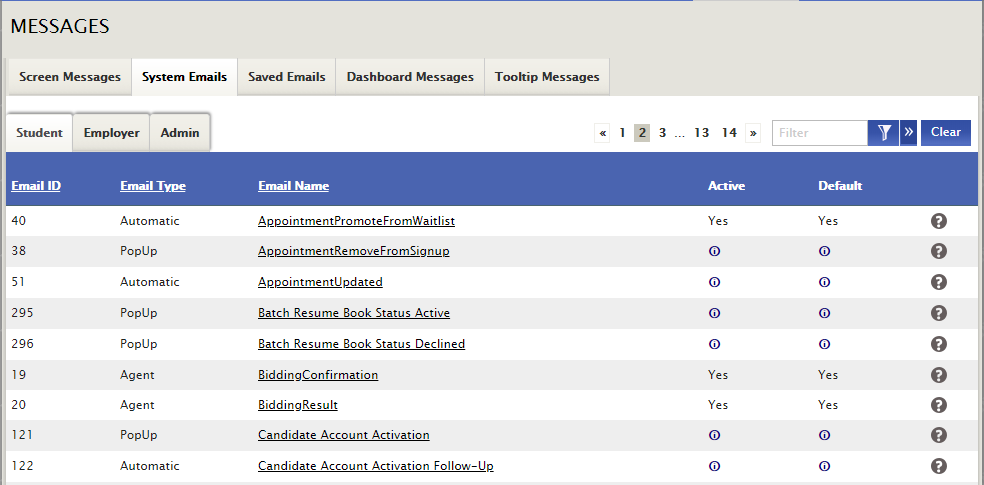
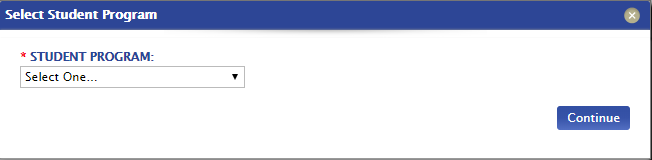
Click on the selection in the Email Name column. If the email is PID or Program-specific, select the correct program in the dropdown.
From the EDIT EMAIL TEMPLATE screen, the email addresses can be added/changed and modifications can be made (see Composing Emails at the beginning of this guide).
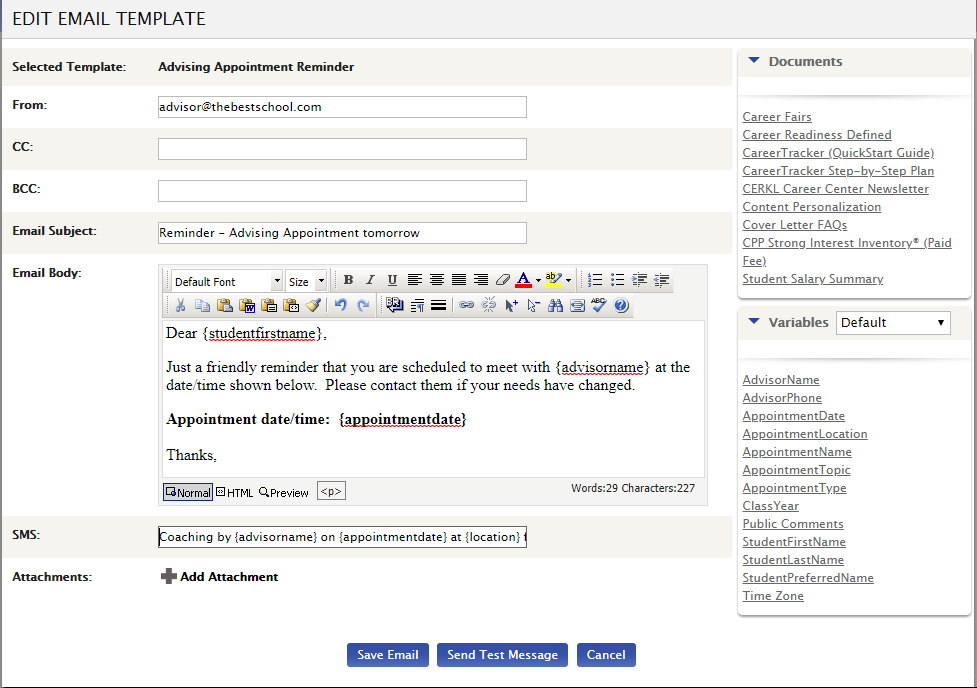
Save Email - save an update to this email template or create a new one.
Send Test Message – enter the email address to send the test message and click on Send Test Message.
Email Analytics & Data
To view a summary of batch email statistics or preview scheduled email messages, click on Other Activities > Mass Emails.
Preview or Cancel Scheduled Emails
Click on the Current tab to view scheduled emails that have not sent. Click on ![]() to view Email batch details.
to view Email batch details.
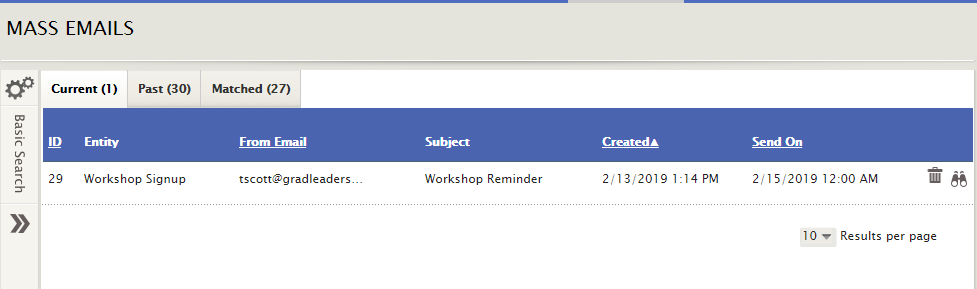
To cancel the email message, click on ![]() .
.
Search
Click on the arrow to access Basic Search
Enter criteria using Search by Entity type, Created and Sent dates and Keywords. Click Search.
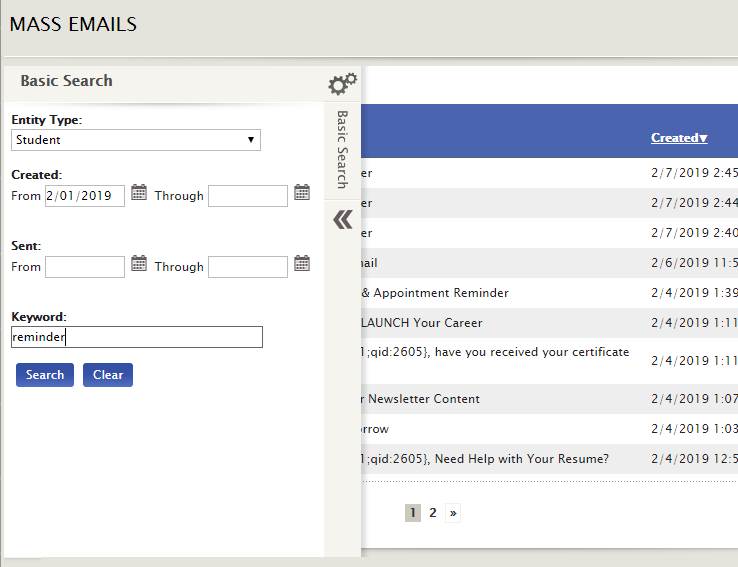
Results will appear in the Matched tab.

To view analytics for a selected Email, click on the . This generates the Email Batch – Details.
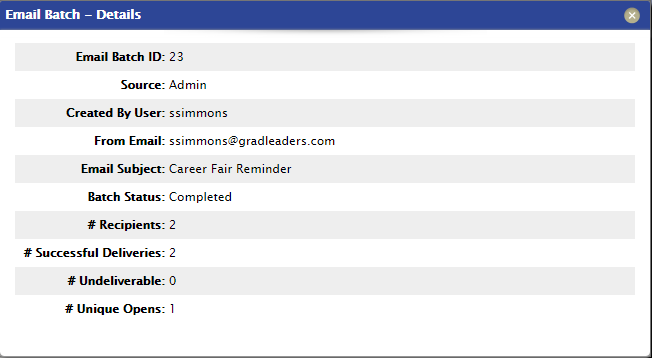
Data includes:
- unique Email Batch ID
- the Source (originator role)
- Created by User
- From Email (Email address appearing in the “From” field)
- Email Subject
- Batch Status (Waiting to Send or Completed)
- # of Recipients (# of email addresses this was sent to)
- # of Successful Deliveries (# of messages that were delivered to the intended recipient)
- # Undeliverable (# of messages that were rejected or bounced back)
- # of Unique Opens (# of delivered messages that were opened)
To learn more about email reports and analytics, see KB Article: Email Analytics & Reports.
Other options to view email details and statistics
On the Candidate file
Click on the Activity tab in the Candidate file
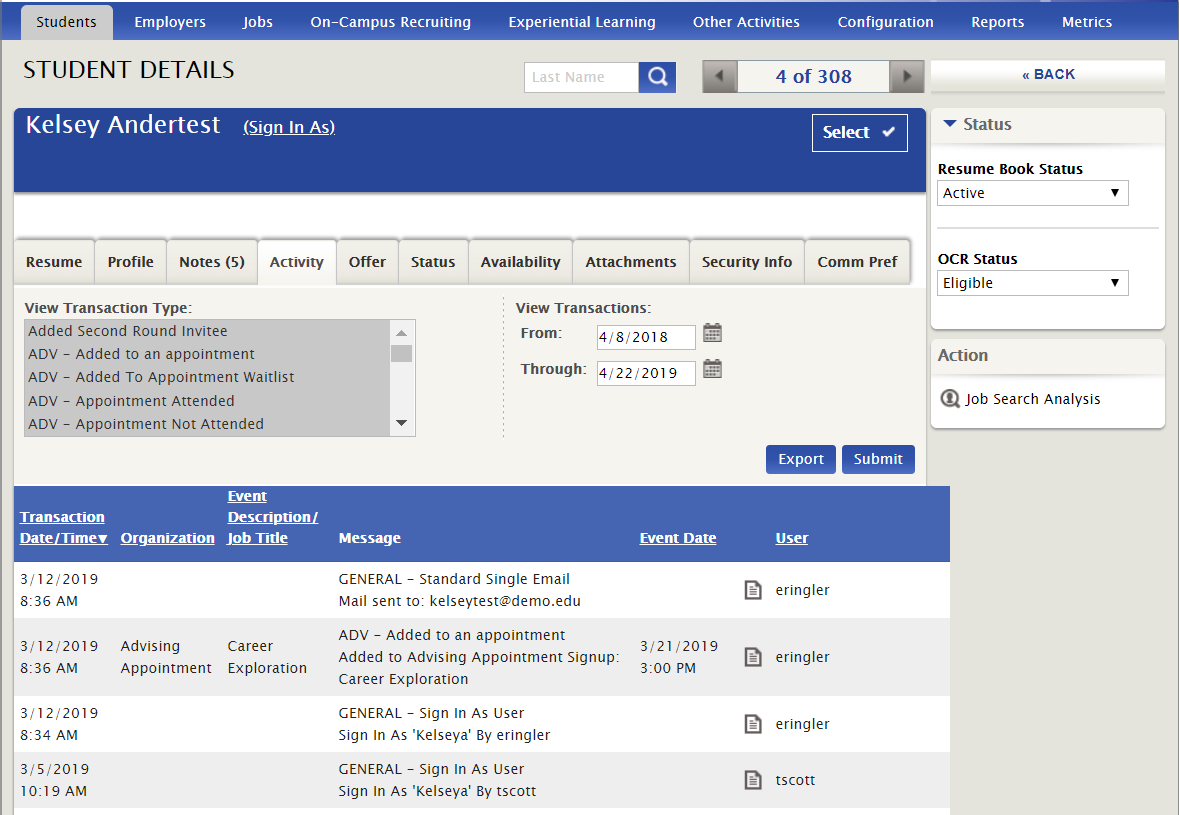
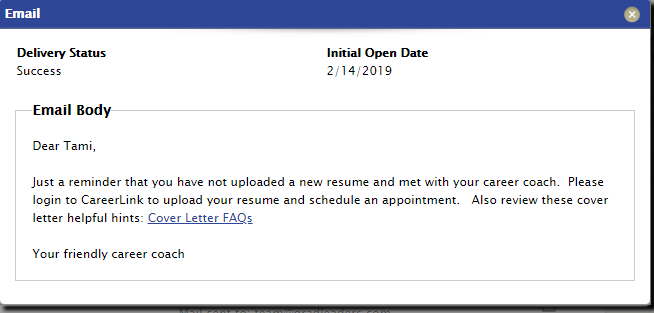
Click on ![]() to get text of the email body.
to get text of the email body.
Visit Detail page Email Details
Click on On-Campus Recruiting > Interview Visits. Select visit.
On On-Campus Interview / Visit Detail page, click on the Activity tab.
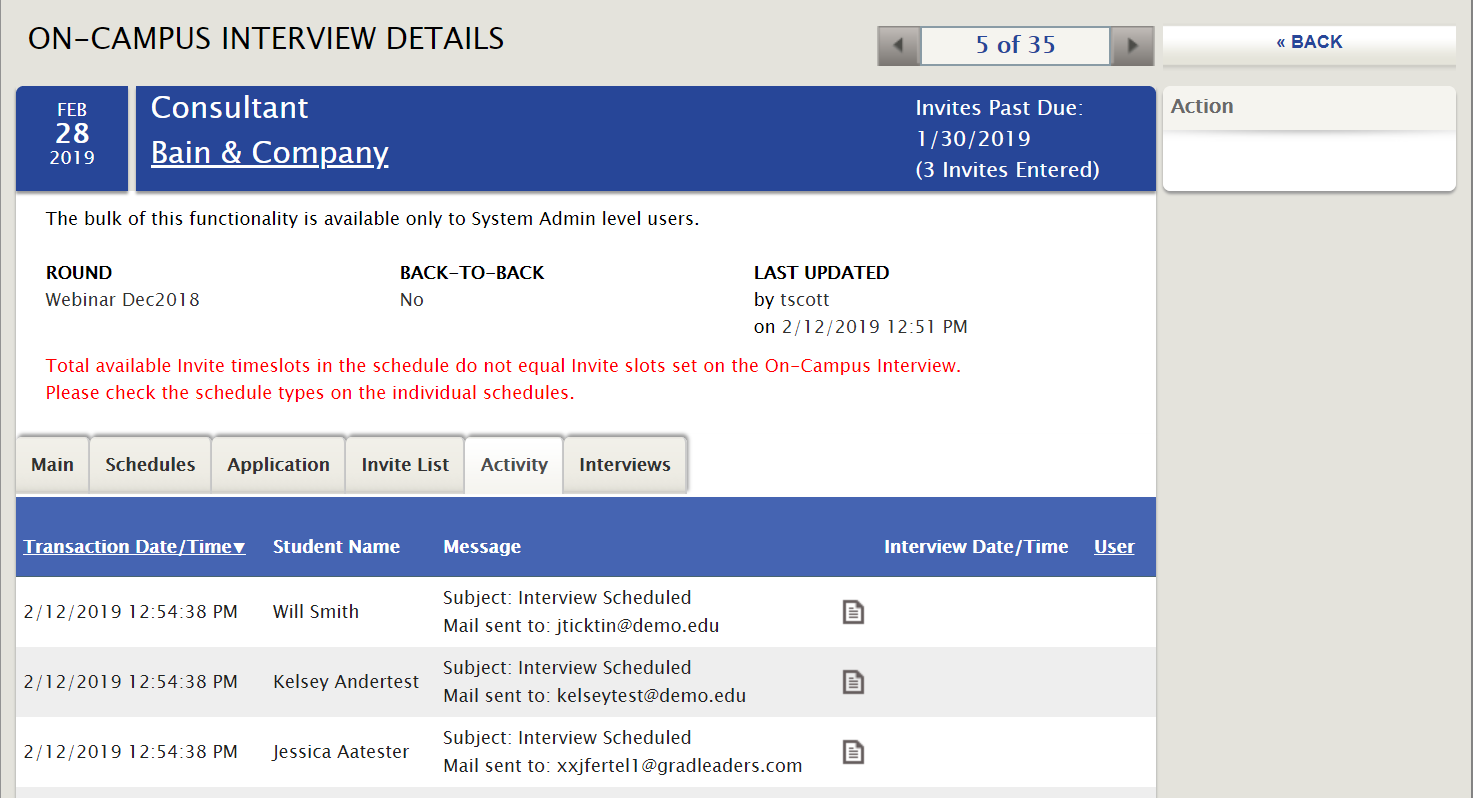
Click on the ![]() next to the email Message column to view the body of the email. This will show the body of the email sent.
next to the email Message column to view the body of the email. This will show the body of the email sent.
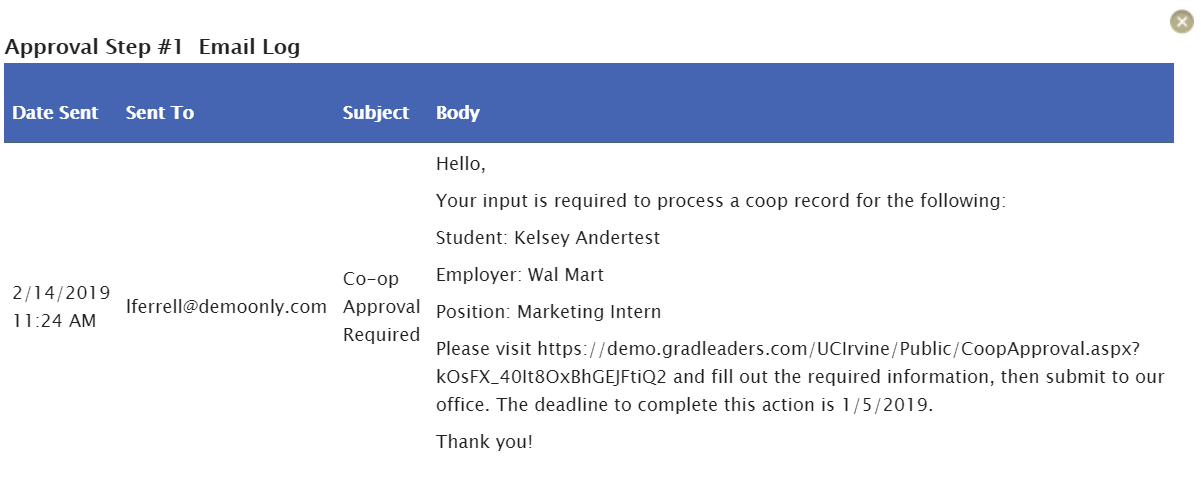
Co-op/Internship Approval Workflow Email Details
Click on Co-op / Internship > Co-op / Internship Records
Click on the record with the semester and student you want to view. Select Approval Workflow in the Action section
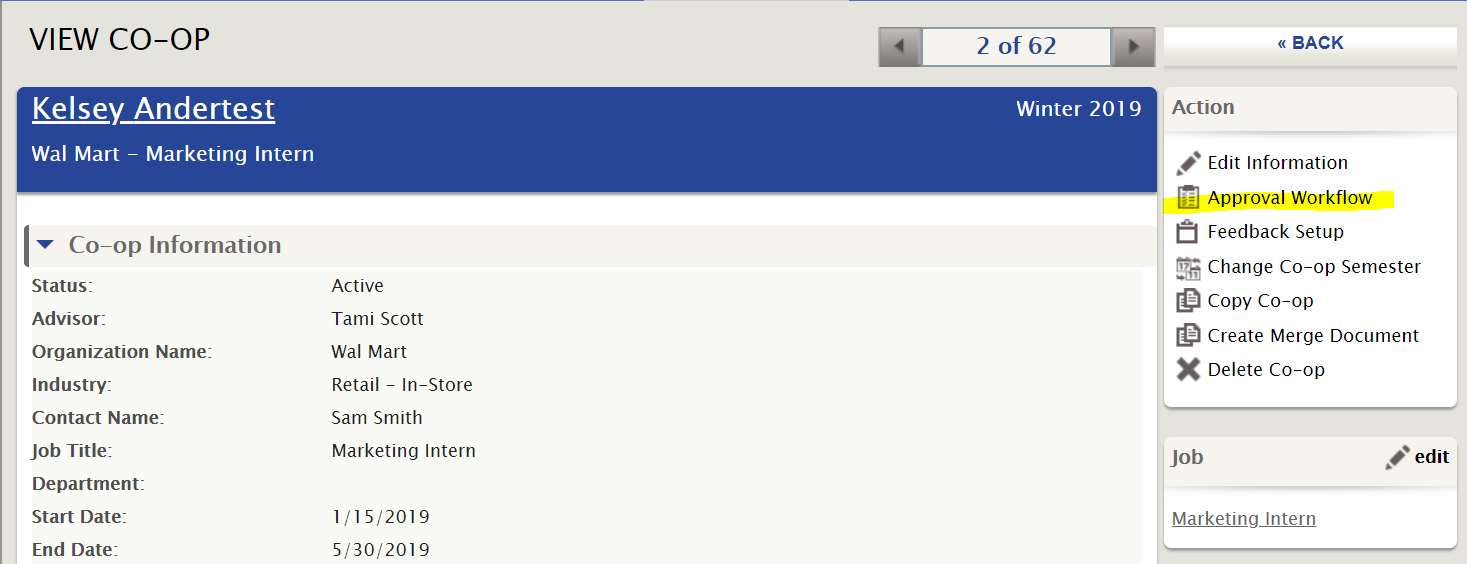
Click on ![]() in the last column of the Workflow Step.
in the last column of the Workflow Step.

This generates a report with Date Sent, Sent To, Subject and Body of the email message.