Updating Messages
There are several different types of messages you have the ability to update including:
- Screen Messages
- System Emails
- Saved Emails
- Dashboard messages
- Tooltip messages
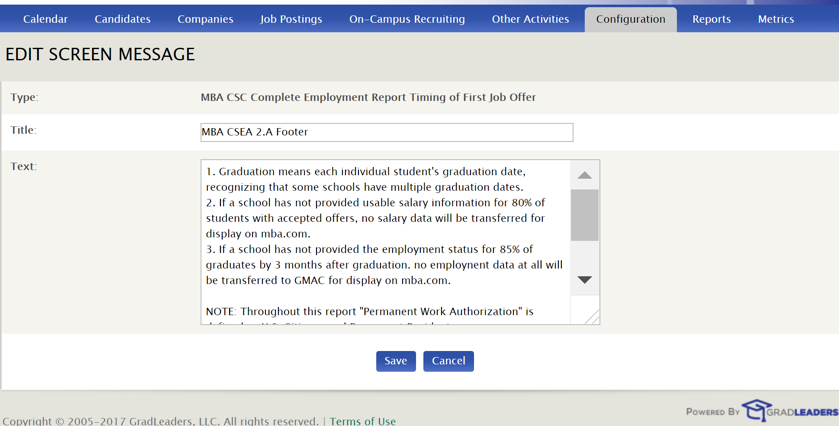
Screen Messages
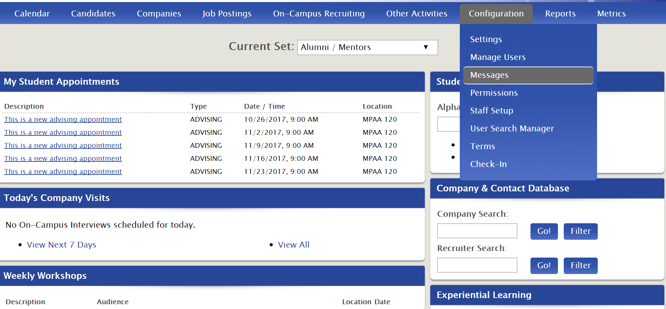
From the main dashboard, go to Configuration>Messages.
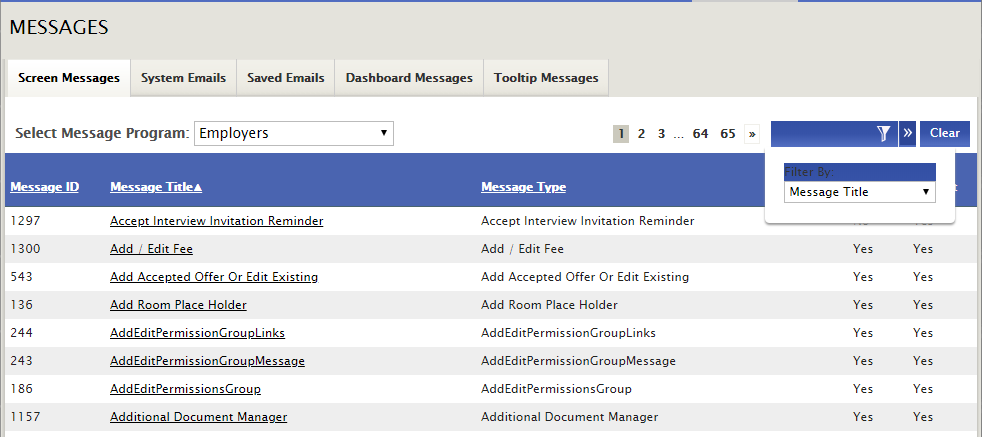
Make sure you're on the Screen Messages tab then click the filter icon on the right side of your screen to narrow the search by message title, text or both.
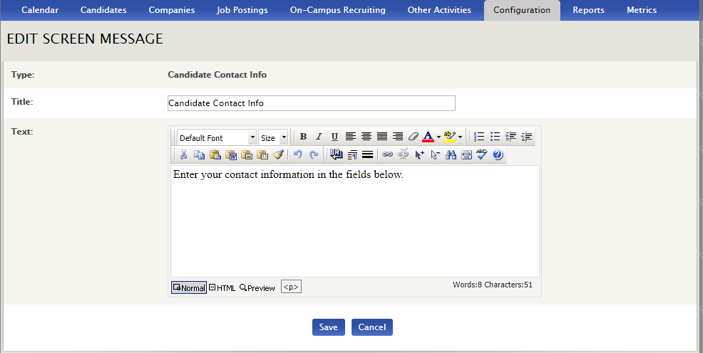
When you find the message you'd like to update, click on the Message Title and adjust the text and title as desired then Save.
You can also update Screen messages using the Candidate File.
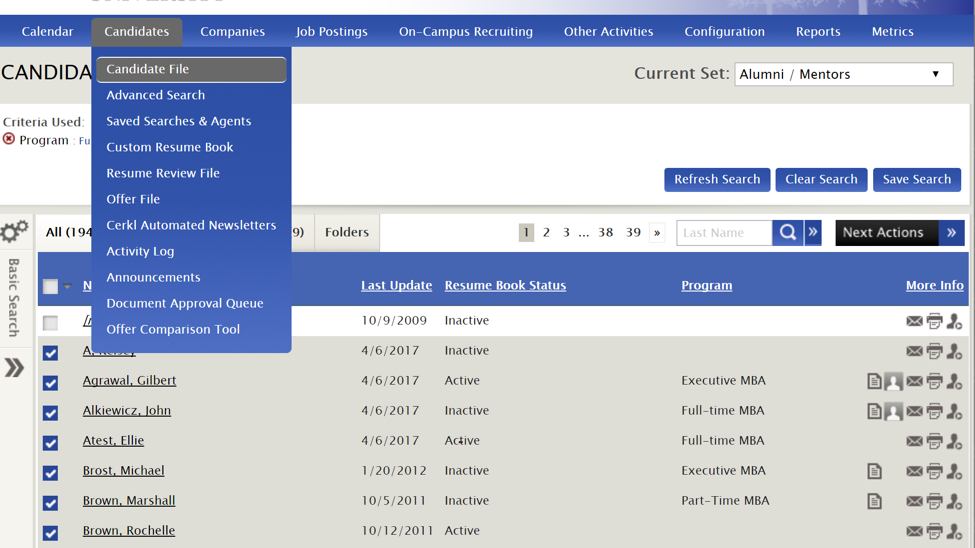
Log in as a student by clicking the person icon on the far right.
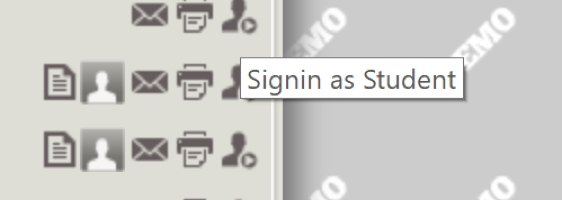
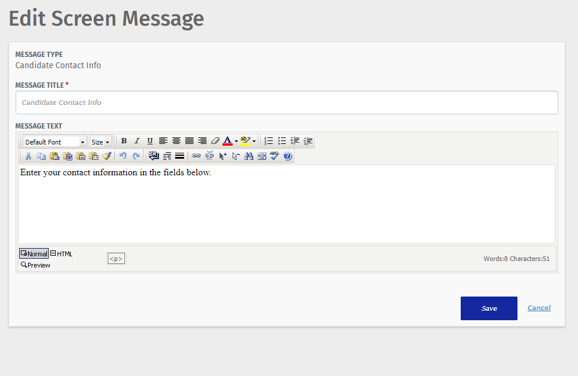
You'll now see what a student would see, but you'll still have admin permissions. Hover over any screen message and click it to edit.

Once you're finished editing Save.
This will take you back to the student dashboard where you can see the edited message.
Email Messages
- System Emails
- Saved Emails (Templates)
From the main dashboard, go to Configuration>Messages.

To modify System or Saved Emails, click on the correct tab.
*Note: There are 3 types of email messages:
- Pop-up emails “pop-up” when a certain action is completed (ex: if you approve an additional document for a student, a pop up will appear asking if you'd like to send them an email notification.
- Automatic emails will automatically send an email (no prompted included) when you complete a particular action (ex: If you add a candidate to an appointment, an automatic email will go out).
- Agent emails are used to notify students when there are jobs that meet their criteria available; By default these are scheduled to go out at a particular cadence (each day or week).
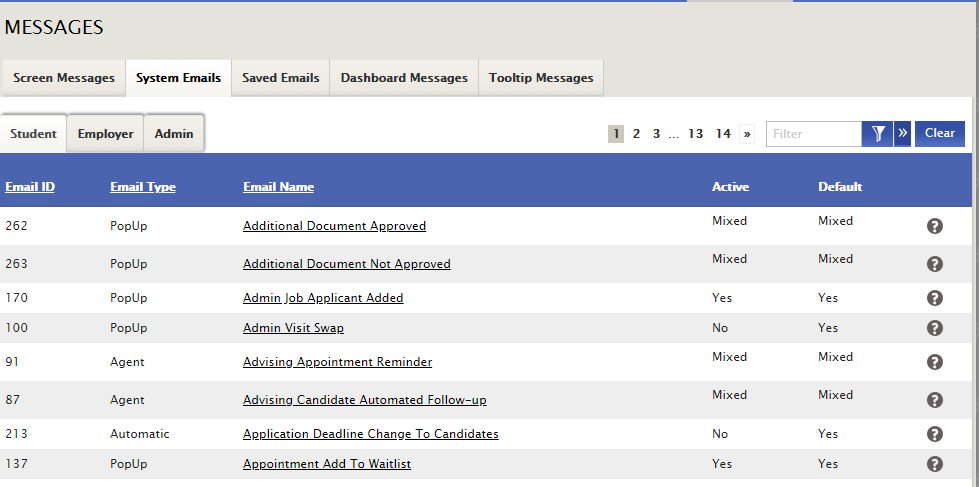
The Active column indicates if that email message is currently active in the system. The Default column indicates if that message is currently set to the default messaging. Mixed indicates that it is active or set to default for some PIDs but others.
System messages are sent to students, employers or other admins. To search for emails in each population, select the correct tab: Student, Employer or Admin.
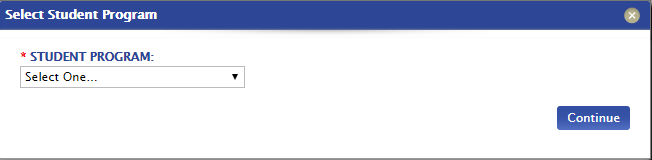
Click on any email name to edit and be sure you select the message PID (meaning the segmented population) you'd like to edit.
To edit a System email, click on the Email Name.
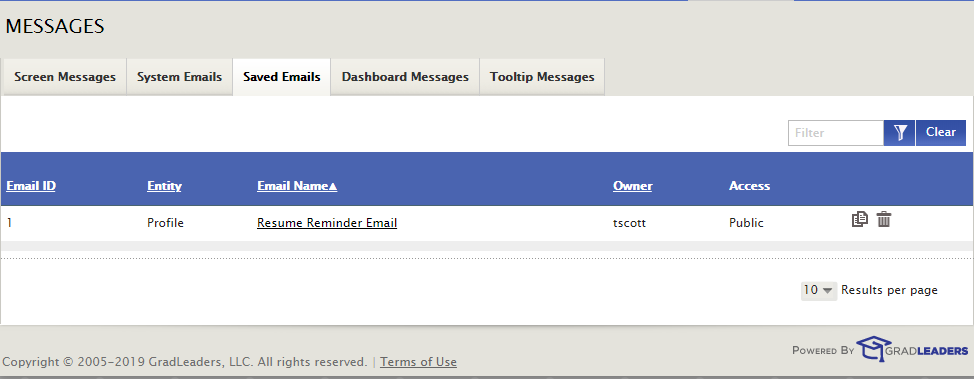
To edit, click on the Email Name.
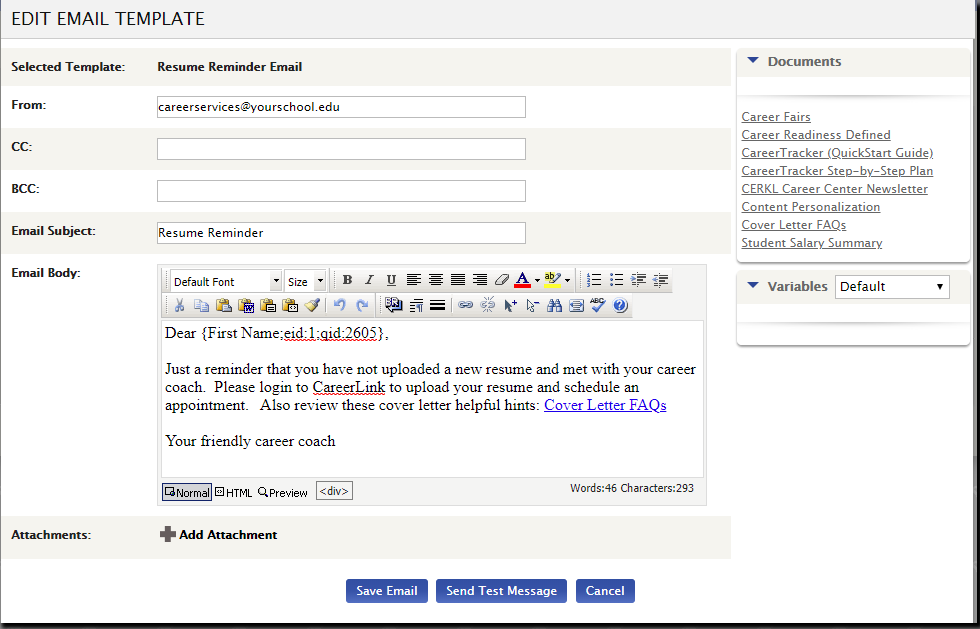
From the EDIT EMAIL TEMPLATE screen, modifications can be made.
Dashboard Messages
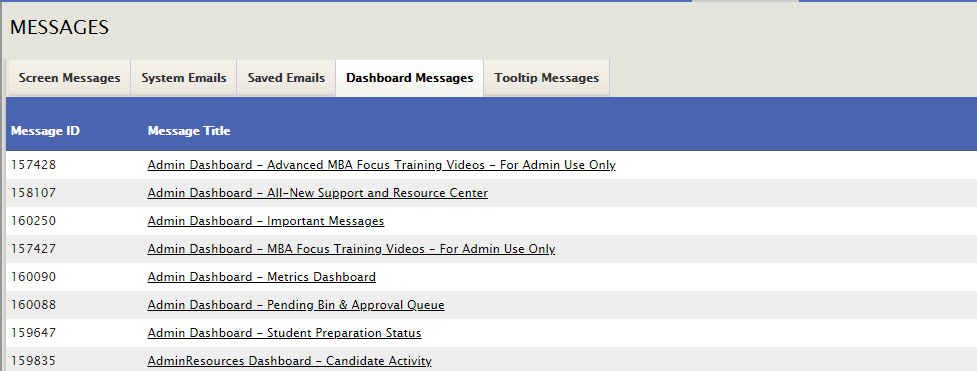
From the main dashboard, go to Configuration>Messages. This will enable you to adjust messages that students and employers will see on their dashboard.

Make sure you're on the Dashboard Messages tab then click any message title to edit.
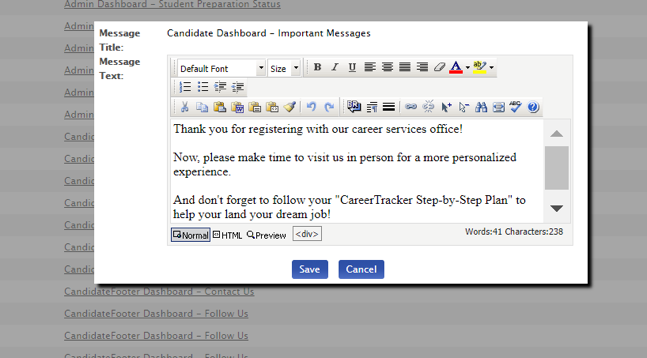
When you find the message you'd like to update, click the Message Title and adjust the text and title as desired then Save.
Tooltip Messages
From the main dashboard, go to Configuration>Messages.

Make sure you're on the Tooltip Messages tab.
Click any Message Title, edit and Save or login as a candidate as instructed above.


 Add Comment